Social Media Marketing
How to Create 30 Days of Instagram Content in One Day
Learn a practical batching system to plan, create, and schedule a full month of Instagram content in a single day, without running out of ideas.
 Tushar MondalCEO & Founder
- Published
- Reading time
- 6 min read
Listen · 6 min
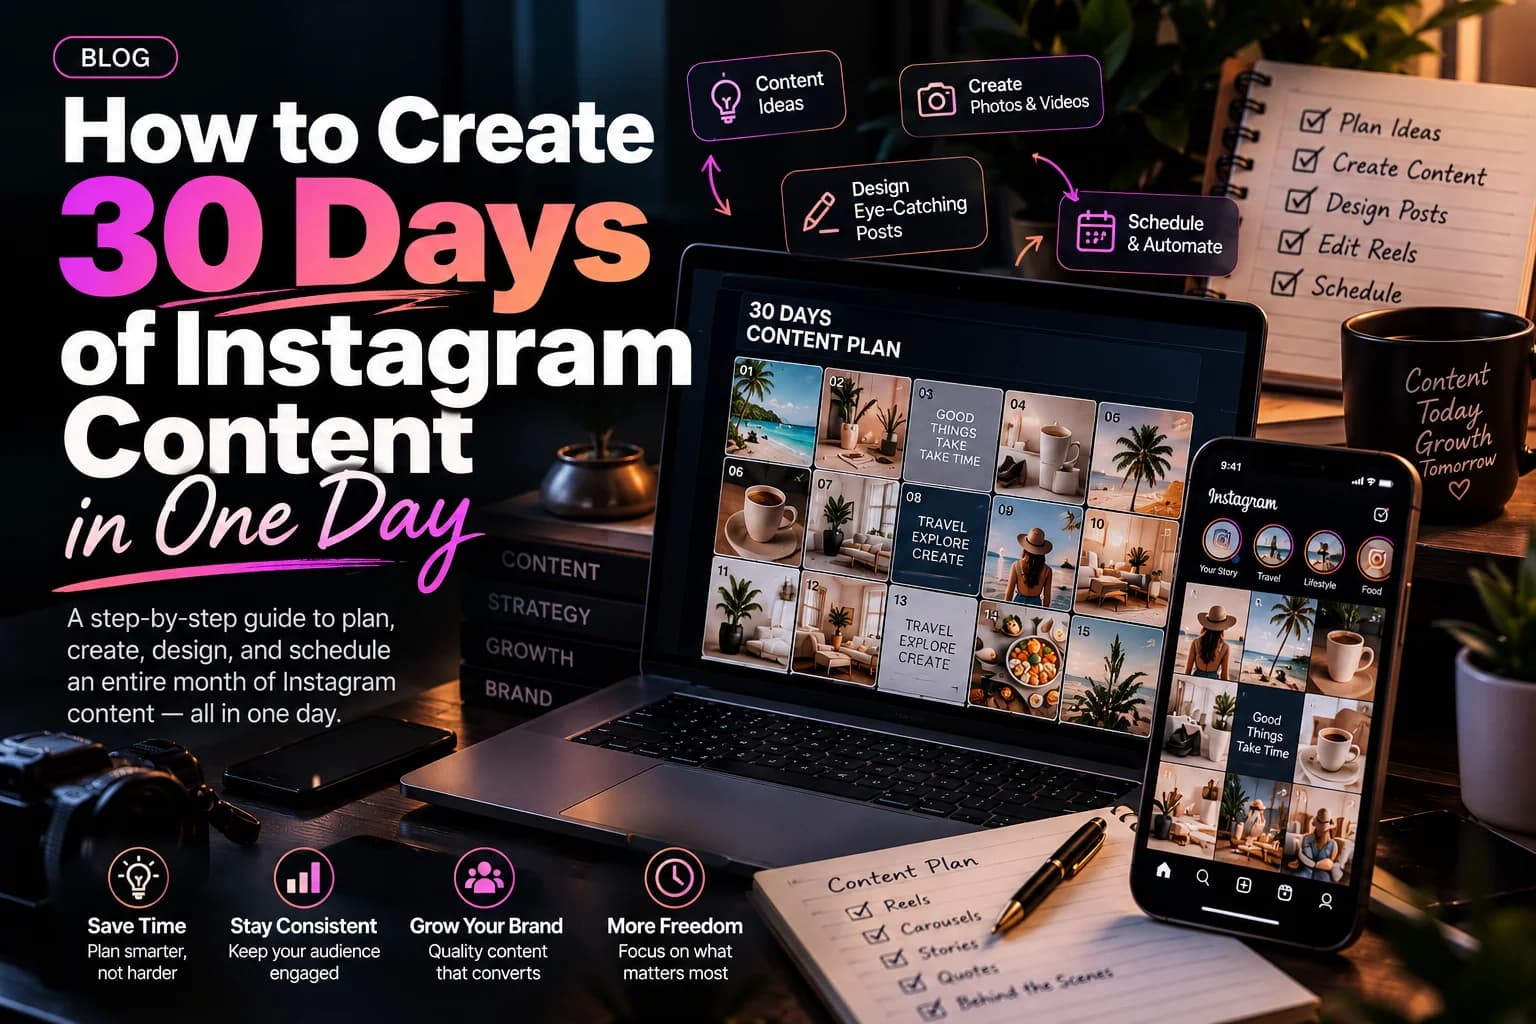
Yes, you can create a full month of Instagram content in one day. The trick is not speed typing or design wizardry. It is a batching system: decide your content themes first, write all your captions in one sitting, create all your visuals in one place, then schedule everything at once. Below is the exact process we use, broken into timed blocks, so you can follow it even if you have never batched content before.
This works for business owners posting for their own brand and marketing managers handling a company account. Set aside one full day, clear your calendar, and follow the steps in order.
Why Batching Beats Posting Day by Day
Posting daily on the fly feels productive but it quietly drains you. Every day you lose 20 to 40 minutes deciding what to post, finding a photo, writing a caption, and second guessing it. Over a month that adds up to hours of fragmented effort, and the quality still suffers because you are always rushing.
Batching flips this. You make all the decisions once, when your head is clear. Your feed ends up more consistent in look and tone, you never miss a day because life got busy, and you free up the rest of the month for the part that actually grows accounts: replying to comments, engaging with your audience, and following up on enquiries.
Consistency matters more than volume. An account that posts three times a week, every week, almost always outperforms one that posts daily for two weeks and then goes silent.
Before the Day: 30 Minutes of Prep
Do this the evening before or first thing in the morning. Skipping prep is why most batching attempts fail.
Pick your posting frequency. For most small businesses, 3 to 5 posts a week is realistic. That means 12 to 20 posts for the month, not 30. The system is the same either way.
Choose 3 to 5 content pillars. These are the themes you rotate through. A clinic might use: patient education, behind the scenes, doctor introductions, and offers. A restaurant might use: menu highlights, customer moments, kitchen stories, and events.
Gather raw material in one folder. Product photos, team photos, short video clips from your phone, customer questions from WhatsApp or email, past posts that performed well.
List 10 real questions customers ask you. These become your easiest and most useful posts.
The One Day Content Batching Plan
Here is the full day, block by block. Adjust the times to your pace, but keep the order.
Block 1: Plan the Calendar (9:00 to 10:00)
Open a simple spreadsheet or notebook. Create one row per post with four columns: date, pillar, format, and topic.
Mark any fixed dates first: festivals, sale days, product launches, national days relevant to your audience.
Fill the rest by rotating your pillars. If you post 4 times a week with 4 pillars, each pillar appears once a week.
Assign a format to each: single image, carousel, or reel. Aim for a mix, roughly half reels, a third carousels, the rest single images.
Write a one line topic for each slot. "3 mistakes people make before hair treatment" is enough. You are not writing the post yet.
By the end of this hour you have a content calendar. This is the same calendar we build for clients as part of social media marketing, and it is the single biggest stress reducer in the whole process.
Block 2: Write All Captions (10:00 to 12:30)
Writing is faster when you stay in writing mode. Do not touch design yet.
Use this simple caption structure for almost every post:
Hook: one line that stops the scroll. A question, a bold claim, or a common mistake.
Body: 3 to 6 short lines that deliver the value or tell the story.
Call to action: one line telling people what to do next. Comment, save, share, or message you.
Write your customer question posts first because they are the easiest. Then tips and educational posts, then behind the scenes, then promotional posts last. Keep captions conversational. Write the way you would explain it to a customer standing in front of you.
Take a proper lunch break after this. You have earned it and your brain needs it before the visual work.
Block 3: Create All Visuals (1:30 to 4:30)
Work format by format, not post by post. This is where batching saves the most time.
Carousels: open one design template in Canva, then duplicate it for every carousel. Change only the text and images. Five carousels from one template takes a fraction of the time of five separate designs.
Single images: use 2 to 3 branded templates with your colors and fonts. Drop in photos and text.
Reels: you have two options. Film several short clips in one session, since you are already set up, or turn photos and short clips into simple reels with text overlays and trending audio. Talking head clips filmed back to back work well for educational posts.
Keep a consistent visual style: same fonts, same color palette, similar layouts. A recognizable look builds brand recall even when people scroll fast. If design is not your strength, this is the block where a graphic design partner saves you the most hours.
Block 4: Hashtags, Alt Text, and Scheduling (4:30 to 6:00)
The boring block that makes everything work.
Prepare 2 to 3 hashtag sets of 10 to 15 tags each, matched to your pillars. Rotate them instead of pasting the same block on every post.
Write alt text for image posts. It helps accessibility and gives Instagram more context about your content.
Load everything into a scheduler. Meta Business Suite is free and handles Instagram and Facebook together. Set the date and time for each post based on when your audience is active, which you can check in your Instagram insights.
Do a final review pass. Read every caption once, check every image crops correctly, confirm links and tags.
Close the laptop. Your month is done.
What to Do With the Rest of the Month
Batching creation does not mean ignoring the account for 30 days. The posts run themselves, but growth comes from the daily 15 minutes you now have free:
Reply to every comment and message, ideally within a few hours. Unanswered enquiries are lost sales.
Spend 10 minutes engaging with accounts in your niche and your local area.
Post stories casually. Stories do not need batching. Quick daily moments keep you visible between feed posts.
Note which posts get saves, shares, and enquiries. Those tell you what to make more of next month.
Common Mistakes That Ruin a Batching Day
Starting with design. If you open Canva before you have a calendar, you will make three beautiful posts and run out of day.
Chasing 30 posts when 15 will do. A sustainable rhythm you can repeat monthly beats an ambitious one you abandon.
Making every post promotional. A healthy mix is mostly value and personality, with a minority of direct selling.
Perfectionism on visuals. Clean and consistent beats stunning and late. Done and scheduled is the goal.
Skipping the review pass. One typo across a scheduled month is embarrassing and avoidable.
When It Makes Sense to Hand This Over
This system works, and many business owners run it themselves for a while. The honest question is whether one full day a month, plus daily engagement, plus staying on top of format changes and trends, is the best use of your time.
When we manage social media for clients, this entire process is what we handle: strategy, the monthly content calendar, graphics, carousels, reels, captions, scheduling, and community management so no comment or enquiry goes unanswered. You approve everything before it goes live, and you get a monthly report on reach, engagement, follower growth, and the enquiries social brought in. If that sounds like a weight off your plate, it usually is.
Know someone who should read this?
Written by
Tushar Mondal
CEO & Founder
Web and mobile app developer for Android and iOS.
More from Tushar →
Related service
Social Media Marketing
Grow and engage your audience
See how we help →
See it in action
Game day social content for Oklahoma City Spark
7 Supplied assets. Social media content creation and video editing for an AUSL softball team.
Read the Oklahoma City Spark (AUSL) case study →